How to Create A Gravel Garden

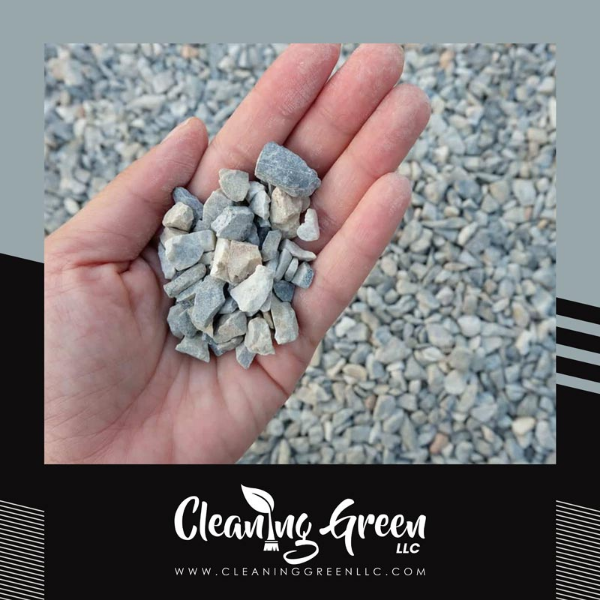
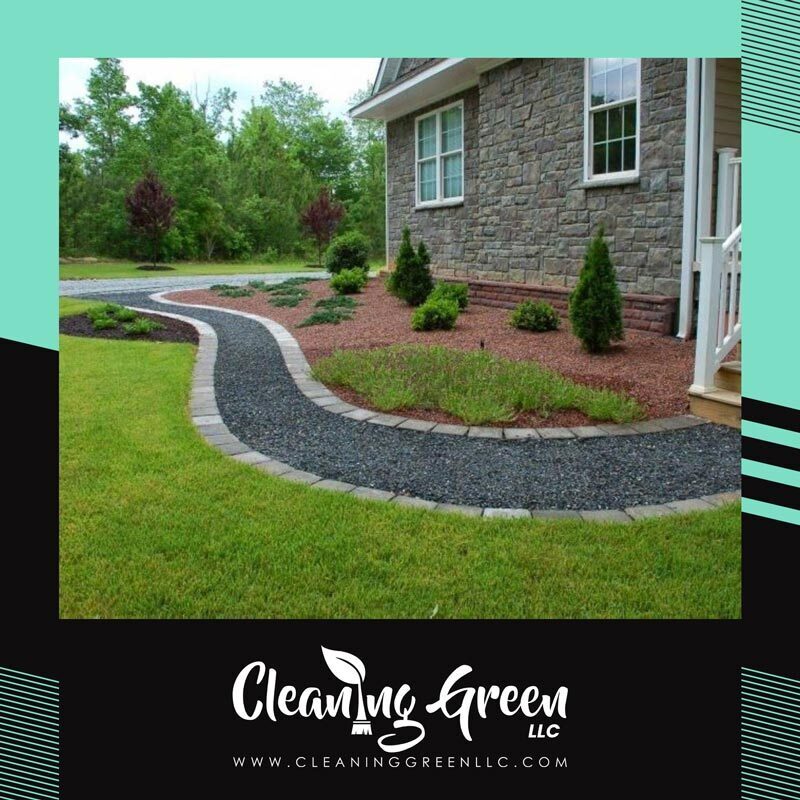
A gravel garden is simply any garden featuring a gravel mulch. You can build an environmentally friendly gravel garden by using sustainably sourced gravel and choosing native plants to grow in it.

This is a great option for beginning and long-time gardeners alike. Complete your garden in a single day in early spring or fall, when plants successfully transplant most easily.

Benefits of a Gravel Garden

Ease of installation is only the first of many benefits of a gravel garden. Done right, it can be sustainable and eye-catching without requiring much long-term maintenance.

Low Maintenance

Plus, unlike wood mulches, a gravel mulch only needs sporadic replenishing, conserving natural resources and transportation costs.

Low Water Use

A gravel garden can be a form of xeriscaping—landscaping with minimal or no use of water other than what nature provides—which can save hundreds of gallons of water annually. Gravel gardens are suitable for arid climates where water is scarce but can be created in any climate to reduce water consumption.

Better Drainage

Gravel drains better and reduces water pollution. Being a permeable surface, rainwater trickles naturally into the groundwater rather than running off into the street. It reduces the chance of flooding in heavy downpours, keeps toxins out of waterways, and reduces municipal water treatment costs and energy.
It’s Not a Lawn

Lawns are monocultures, reducing the potential biodiversity of your yard. Grass is the most irrigated crop in the United States, requiring an estimated 9 billion gallons of water per day.1

Locally Sourced

Due to the high cost of shipping rocks with low market value, gravel is almost always sourced from local quarries or recycled from reclaimed concrete, glass aggregates, or other construction materials. This means lower carbon emissions in transportation. And unlike wood mulches, which are often shipped from other regions or even countries, gravel is far less likely to contain the seeds of invasive species.

Test Your Soil

Test your soil for its suitability for planting. You can quickly test the soil’s pH with a few home ingredients, but you can also contact your state cooperative extension service or garden center about a test that can determine the nutrient levels and potential presence of contaminants in your soil.

The results of your soil test will tell you if and how you need to amend your soil—for example, to reduce the clay content to improve drainage. Use organic compost. Once you’ve achieved the right balance of loam soil, suitable for planting, you can create mounds or irregular patterns in the soil height to create drainage patterns. Some plants prefer moist soil over others.

Place your plants in your chosen planting arrangement. Choose native plants, which have had millennia to adapt to your environment and thus are low maintenance. Taller plants will most likely go in the center or back of your garden, while shorter plants may hug the borders. Cut holes in the weed block just enough to plant your plants. Give them a good watering.

Apply your gravel mulch. Smooth out with a garden rake or hoe. For variety, consider adding larger stones or other garden features for aesthetic purposes.

How Much Gravel?

How much gravel you will need varies greatly, depending on its density and the size of your garden. Small bits of gravel pack more densely than large ones, so you will need more of it per square foot. You can find many gravel calculators online to help you determine how much you will need.

Instructions

Remove any existing plants that you would like to keep in your gravel garden. You can move them temporarily to somewhere else in your yard or pot them up. Just keep them watered, as you’ve disturbed their root systems and they are more vulnerable.

You can remove weeds by hand or by turning over the soil, though you are likely to leave many viable weed seeds sitting in the soil, waiting for a disturbance to begin growing. A more effective method is to solarize your soil. It’s an inexpensive but time-consuming method of using the sun to kill the weeds.

What You’ll Need

Tools:

  • 1 shovel
  • 1 trowel
  • 1 garden rake or hoe
  • Plant pots (optional)
  • Materialsl
  • Gravel
  • Loam soil
  • Scrap cardboard, newspaper, or weed fabric
  • Bordering material such as cobblestones or brick

Create a Border

To keep the gravel in place and create a tidier look, create a border with cobblestones, brick, or other materials. Design the space in any shape you desire—as formal or as informal as you desire. You can always modify the shape as plants grow in or your tastes change. Measure your space to determine how much material you require.

Gravel Garden Maintenance

A little effort can go a long way with a gravel garden.

As with any new plantings, water your plants twice a week until they are well established.

If your gravel garden is in a heavily trafficked area, you may need to freshen up the gravel every few years.

Plants that produce abundant flowers could use a topdressing of a compost mulch every year or two.

Depending on your tolerance level, weeds will eventually show up that you may want to remove.

FAQS

Can you plant into gravel?

For best results, develop a gravel garden plan, plant your plants first, then add gravel as desired.

Which plants are suitable for a gravel garden?

Pick low-maintenance native perennials that tolerate dry climates. Try perennials like black-eyed Susans, coneflowers, blanket flowers, native lupines, mountain bluebells, asters, yuccas or other succulents, among hundreds of other native choices.

Working Time: 3 – 4 hours
Total Time: 3 – 4 hours
Skill Level: Beginner
Estimated Cost: $200-500

Skip to content